
Have you ever started a crochet project, put it aside, and gone back to it later only to find that you must have since moved the hook or used it elsewhere and now you don’t remember what hook size you were using?
I often have five or more works-in-progress going at once and I’m not always good about keeping the pattern close by.
Sometimes the project is one I’m creating as I go along so there is no pattern.
I might be using a certain crochet stitch or a combination of stitches I found online to make a blanket.
Once I’ve done a few rows I no longer need a pattern. I can tell from the previous rows how I need to proceed.
But I’m not always smart enough to have made a note of the hook size.
Or I might have been following a pattern I found online and kept open in the browser on my phone but since closed the tab by accident and while I might be able to finish the project because I can repeat the rows I’ve already completed I don’t remember which hook I was using.
Maybe I’m the only one who isn’t organized enough to keep everything together? (Surely there are others like me?!)
I realized that If I wanted to stop abandoning half-finished projects or guessing as to hook size, I needed a new approach.
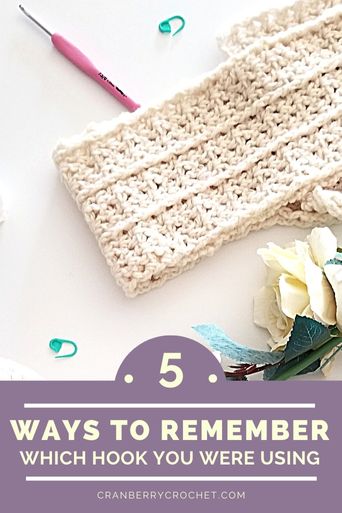
Following are 5 simple ways that will help you remember which hook you were using for every new project you start.
Attach a Gift Tag & Note the Hook Size
You know those gift tags you have hanging around for Christmas or birthdays?
I’m not talking about the “Made by” tags for crafters. I mean the ones that have a small hole in them with a little bit of ribbon or string going through the hole.
These have space for writing and you can use that space to make a note of the hook size for your project.
Just slip a stitch marker through the hole or tie the tag to a stitch marker and attach the marker to the corner of your project.
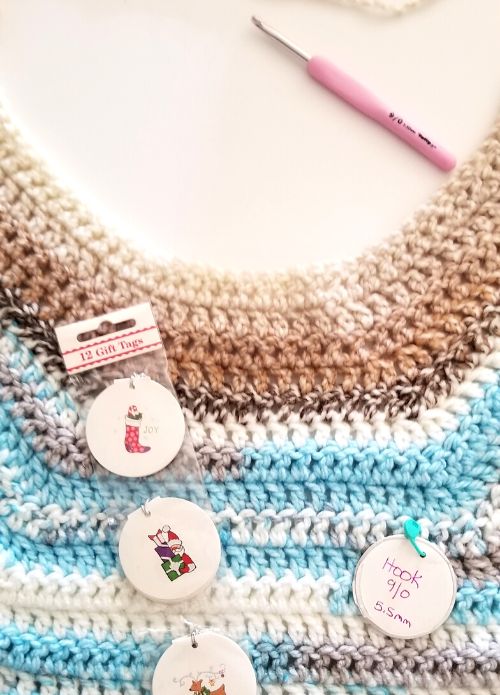
If you have room on the tag you can also note the yarn you are using and/or the URL for any pattern you might be following (or at least the name of the website where you found the pattern).
If you find you tend to use the same few crochet hooks the most, make up gift tags in advance for each of those hook sizes.
The next time you start a project you only need to grab one of those pre-made tags and you’re ready to go.
Letter & Number Beads
US crochet hooks all have a letter designation except for size 7 (4.5mm).
For just a few bucks, you can get a box of letter beads used for jewelry making and slip the appropriate letter onto a stitch marker to remind you which hook goes with that project.
You need to make sure you get ones with a hole that is large enough to slip over your stitch marker without being bigger than the marker itself.
I recommend the ones below because they have a 3.5mm center hole.

Small Letter Beads for Crafters

You can use the letter Z for the size 7 hook.
If you use UK hooks you could use number beads instead.
Multiple Stitch Markers in the Corner
If you don’t have tags or beads but have plenty of stitch markers, come up with a cheat sheet for using a designated number of stitch markers in the corner of any project to remind you which hook you were using.
For example, one stitch marker could refer to crochet hook B, two stitch markers could refer to size C, and so on.
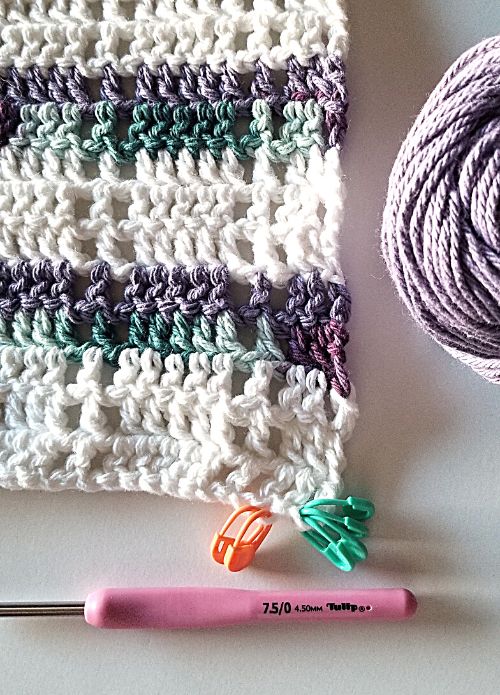
Of course, if you have a lot of WIPs – especially ones using large hooks – you might need a LOT of stitch markers.
BONUS IDEA: Depending on the size of your stitch markers, you could use a permanent marker to write the crochet hook size on the stitch marker itself. Then you’d only have to use one per project.
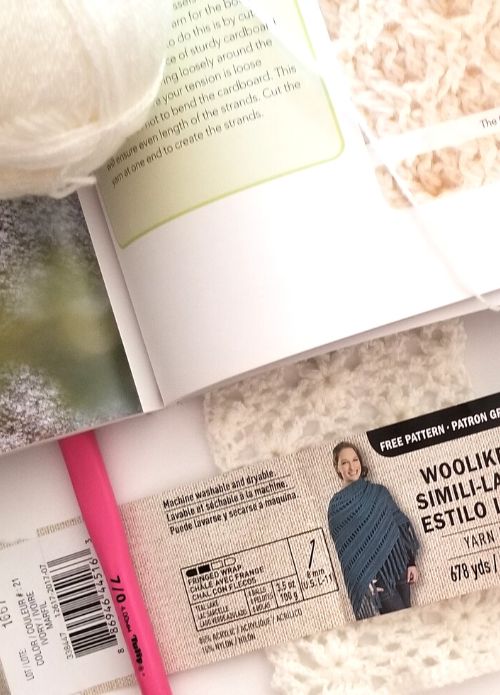
Crochet Project Notebook
If you’re super organized (which does not appear to apply to me apparently…) you could keep a crochet project notebook or binder.
Inside the notebook, you could log each project you start along with all the important details like yarn brand, yarn color, pattern information, and the hook size or sizes used for the project.

Crochet Project Journal with Floral Cover
I’ve read about people who do this. They’ll tape the yarn labels into their notebook and even include a timeline of pictures of their work as they progress. (I have to admit I’m a bit jealous of this level of organization…)
One added benefit to this approach is that you can also make a note of any adjustments you made to a pattern. For instance, I’ll sometimes start rows differently than outlined in a pattern and it would be good to remember that if I’ve taken some time away from a project.
When you return to work on any project, you only need to refer to your notebook to pick up where you left off.
Use Your Smart Phone
Use your cell phone to take a picture of all of the following in one shot:
- First few rows of your project
- Printout of the pattern showing what the finished project looks like or at least the name of the pattern
- Yarn label showing brand and color/lot (I cut the label and flatten it so I can get all of this in one shot)
- Crochet hook showing the size
You can then browse through your camera’s images to find details about any unfinished projects when you’re ready to pick them back up.
If you don’t use printed patterns, you could try an app like Evernote to track your project details. You can attach images to your projects, make notes about pattern adjustments you’ve made, and track any other details you need for each project.
I recommend you choose the one approach above that you think would work best for you and make it a regular habit going forward. You’ll save yourself a lot of time and frustration.
Current Unfinished Projects
If you’re already in this predicament and have unfinished projects where you’ve lost track of the size hook you were using, you may be able to figure out which it was by running a couple of tests.
Take your hooks and – one by one – try slipping them into a stitch at the top of your work.
Find the few that fit in smoothly but aren’t so small there’s excell room around the hook.
This should narrow your options down to just a few.
You can then make a swatch with each of those hooks using the same yarn you were using in your project.
Choose the hook where the finished gauge of the swatch most closely matches that of your unfinished project.