
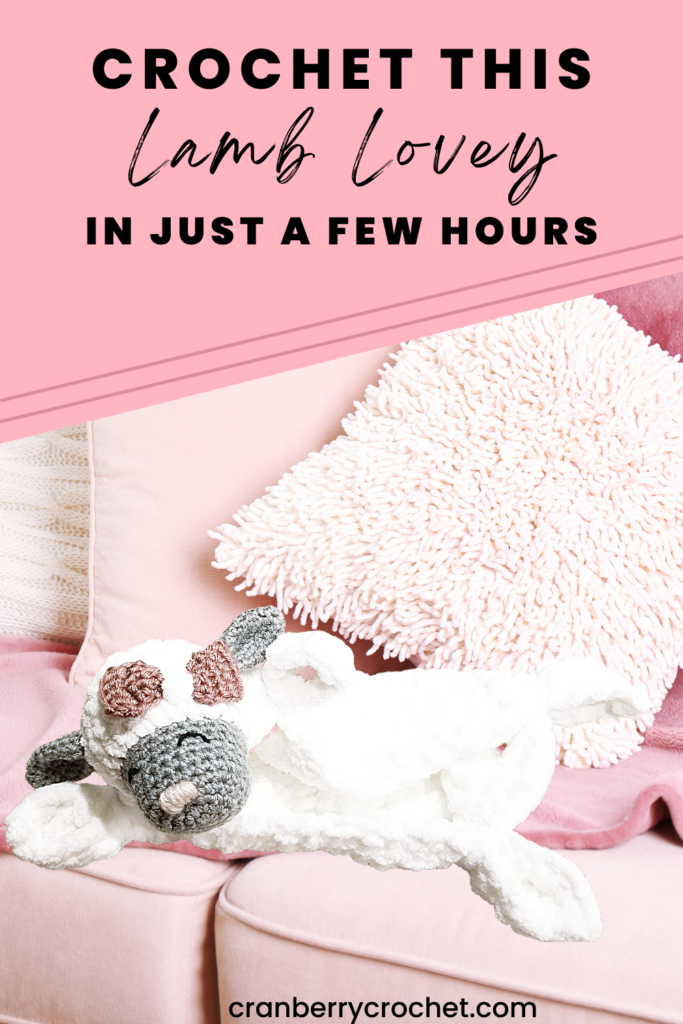
I recently finished this super-soft crochet lamb lovey project and wanted to show it off!
Full credit for the FREE pattern goes to SweCraftCorner.
I did not write the pattern nor will you find it in this post. Please visit her site for the step-by-step instructions. (She’s amazing!)
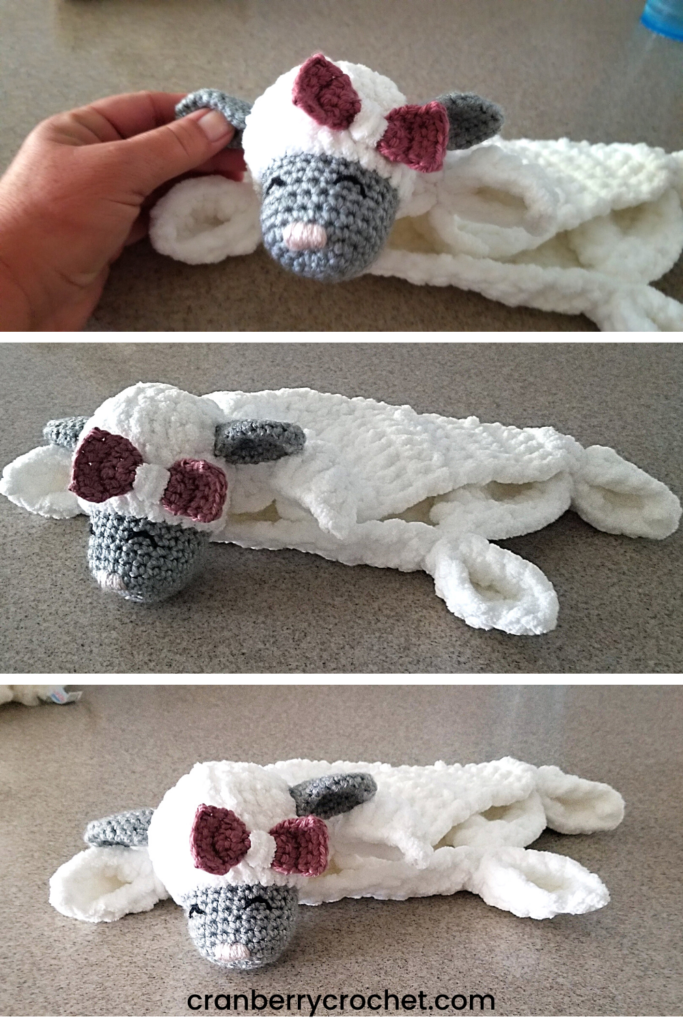
All the pictures in the post, however, are of my finished project.
I wanted to mention the yarns I used and some tips I came up with as I worked my way through.
There were several things I loved about this pattern.
First, it was free.
Not only was it free but I’d spent hours looking for just the right sort of plush or lovey to make for our new granddaughter and all the ones I thought were the cutest cost money except this one.
I’m not opposed to paying for a pattern but this one was so adorable it zoomed to the top of my list and I didn’t find anything I liked better.
Second, only the head is stuffed so if getting that polyfil into your amigurumi parts is not your favorite thing to do, this saves you some hassle.
Third, it was a good size for our 9-month-old grandchild.
Finally, you don’t have to make any feet! All of the feet are simply corners of the rectangular body that are tied off to form the legs. Genius!
It’s part stuffed animal and part small blanket. It’s so cuddly I want one for myself. (You might, too!)
Normally it might take me some time spread out over the course of a week to pick away at such a project.
However, we hadn’t had the opportunity to meet our first granddaughter due to work schedules and geographic locations until she and her parents came to visit us last month.
I’d already crocheted her a blanket and a sweater but once I held that sweet girl in my arms for the first time I couldn’t make things fast enough.
At this age, she can sit up and loves nothing more than to be on the floor surrounded by a few toys.
Her hands roam over each one and she is obsessed with textures. Even the grout line in the tile at the edge of the carpet intrigued her. She’d rub her little finger in it for minutes at a time.
So, I knew I wanted to make her something she could play with, hug, and cuddle that also had a mix of textures.
This fit the bill due to the different types of yarns used in the pattern.
I started this lamb the day before they left and finished it late that night so it was ready to go on the road with her when they left for the next leg of their trip.
All in all I probably spent 3-4 hours.
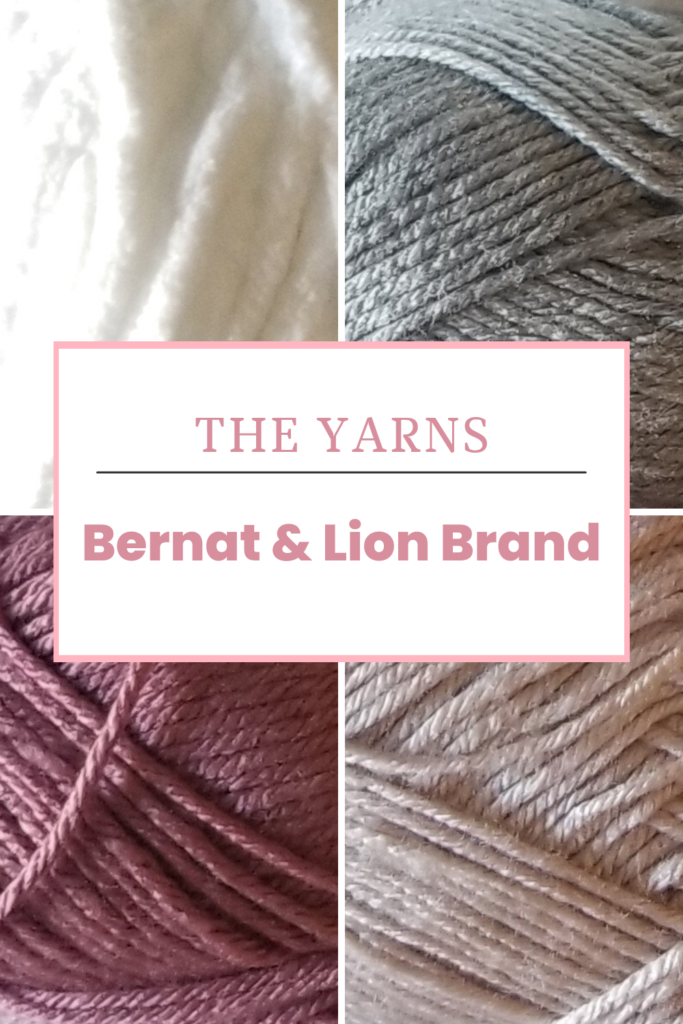
The Yarns
The pattern calls for chenille yarn but I didn’t have any on hand so I used Bernat Blanket yarn instead.
The blanket yarn has a chenille-like texture but is not quite as soft and furry. Bernat’s yarn can be machine washed, though, whereas that may not be the case for chenille.
I don’t often use this blanket yarn because I have bouts of carpal tunnel and arthritis and I find that no matter how loose I try to keep my stitches, I’m always having to tug to pull the yarn through the loops.
I definitely felt the after effects in my right wrist the day after finishing this project (but it was well worth it!).
The pattern also called for cotton for the ears. While I have lots of that laying around, none were in the right color so I used Lion Brand Basic Stitch yarn for all the other pieces except the eyes and that worked just fine.
- Body, back of the head, & the tie around the bow: Bernat Blanket Yarn in White
- Ears: Lion Brand Basic Stitch in Silver Heather
- Bow: Lion Brand Basic Stitch in Deco Rose
- Nose: Lion Brand Basic Stitch in Blush Heather
- Eyes: Some sock weight scrap yarn in black – not sure of the brand
The cool thing is you can use whatever colors you want. I used medium weight yarn for all the parts except the eyes and the body. Those pieces took such little yarn that you surely have lots of scraps in your stash from which to pick.
The images below show the colors and stitch definition of the blanket yarn more accurately.
My Tips
The first thing I did was to make all the individual pieces as outlined in the instructions.
After I finished stuffing the head, I closed the opening by weaving in the end over the opening a few times and then wove the yarn through one side of the white portion of the head, out another white section, back in, through to the other side again, pulled the end and snipped it as close to the head as I could.
The texture of the blanket yarn completely hid all of my stitches used to weave in the end.
I left the tail end of each ear extra long, used the end to secure the folds at the base, and then attached them to the head.
For this project, my ears came out exactly the same but for other amigurumi projects I’ve sometimes had ears come out slightly different shapes.
When that happens I can often use the tail end to even things out by running the end up one side to straighten it out or to add some width at the base if one is thinner than another. This is another reason I often leave those ends longer than what might be considered normal.
To make the bow really look like a bow I had to pull the white yarn very tightly around the center of the bow. Otherwise, the tie portion doesn’t cinch the center tight enough to make the edges of the bow flair out.
To secure the head, I laid the body flat and positioned the head on top such that the first two rows of the white portion of the head stuck out over the edge of the body.
I then secured the base portion of the head that touched the body to the body itself. This worked out to about a two inch square which I think will keep it in place really well.
Tying off the feet was a bit of a puzzle not because it’s difficult but because I wanted to make sure that no yarn would come loose.
I cut four lengths of blanket yarn that were each about 2 feet long.
I used one piece for each foot and wrapped it around the corner of the body 3 times, knotted it well, and then wove in about 3 inches of each end.
Be careful just how tight you pull when making your knot, though – at one point I actually broke the yarn and had to start over.
Because the feet have some curve to them, there’s a good, thick area in which you can securely weave in your ends so they don’t show.
Next, I tackled the eyes.
The definition of stitches in the face made it much easier to mark out where I wanted to place them so I found it pretty easy to pinpoint a middle, identify an identical cluster of stitches on each side of the middle, and use those as my guide to sew in the closed eyelids.
The nose was actually the hardest part for me. It didn’t take long at all – just a few minutes – but I couldn’t get the yarn to line up where I wanted. I think it’s because you’re working just a few rows away from the magic ring and there’s a lot of curve in that area.
I ended up with a slighlty larger nose than I would have preferred that is also a bit lopsided. I should have done a better job identifying my starting point.
I think that’s one of those things we all run into as crafters. We’re our own worst critics.
I want to make this again but next time I want to see if I can tuck a small rattle in the head.
Our granddaughter way prefers toys that make noise at this stage and I’m interested to see if one could be heard while surrounded with all that filling.
If you’re looking for a fun, cuddly lamb lovey I highly suggest this pattern. It was a lot of fun to make, I got through it in a few hours, and the end result was all I’d hoped and more.
I don’t blame you for making this – it’s adorable! And I think I’d prefer the blanket yarn, too. It just seems like it would be cozier/softer. What a sweet gift for a sweet baby! That’s a keepsake right there. :o)